|
|
Part 2: Making
an Image Map
To
create an image map, you draw the hotspots on the map directly in
the Document window, then designate the link for each hotspot. You
can also provide a target window for those links and an alt tag
for each hotspot.
To
draw the hotspots:
- Select
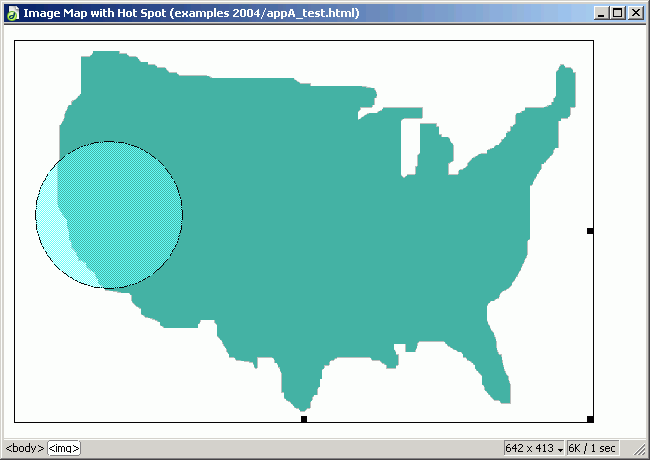
the image in the Document window (Figure 2).
- On
the Property inspector, select a drawing tool from the toolbox
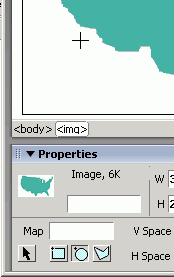
(rectangle, oval, or polygon) by clicking on it (Figure 3).
The pointer will turn into a set of crosshairs.
- Draw
the shape on the area of the image where you want the hotspot
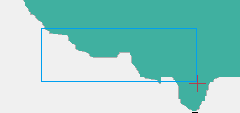
(Figure 4). When you let go of the mouse button, the hotspot
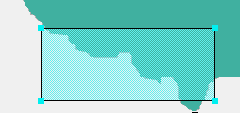
will appear on your image (Figure 5). For tips on drawing
polygons and on moving and resizing hotspots, see the tips
page.
Setting
the Links
You
can set links as you go along, or you can set them later on.
To
set a link:
- Select
the hotspot by clicking on it (Figure 5). The Property
inspector will display hotspot properties. You can also select
all image real estate outside the hotspots by clicking on a blank
area of the image.
- In
the link text box:
- Type
or paste the URL of the destination page, or
- Click
on the Browse button to select a file from your local site,
or
- Click
on the Point to File icon
 to point to a file that's open or that's listed in the Sites
window.
- Then,
press Enter (Return). Be sure to test your links.
- To
add a target for a hotspot, select it from the Target drop-down
menu.
- To
add some Alt text for your hotspot, type it in the Alt text box.
|

Figure
2
Select the image in the Document window.

Figure
3
After I clicked on the oval hotspot tool on the Property inspector, the pointer
turned into crosshairs as I prepared to draw.

Figure 4 Drawing a hotspot in the Document window.

Figure 5 How a hotspot appears in the Document window.
 Tips
Tips
- The
hotspot pictured in Figure 5 is actually a live hotspot.
I've linked it to the index page for this appendix. Go ahead,
click it! You can also view the source of this page to see the code
for this simple map.
- Hotspots
appear as transparent aqua spots on the image. These spots will
not appear in the browser.
- Selected
hotspots have selection handles that you can click and drag to
resize the image.
- For
more about using frames and targets, see Chapter 13. For more
about images and Alt tags, see Chapter 5.
|
