|
Appendix A: The Image Map Editor |
index | previous | next | ||
| |
Part 3: Naming Your Image Map |
||
| Figure 8 The Property inspector, displaying hotspot properties. Figure 9 A close-up of the Map text box and the hotspot buttons on the Property inspector.
|
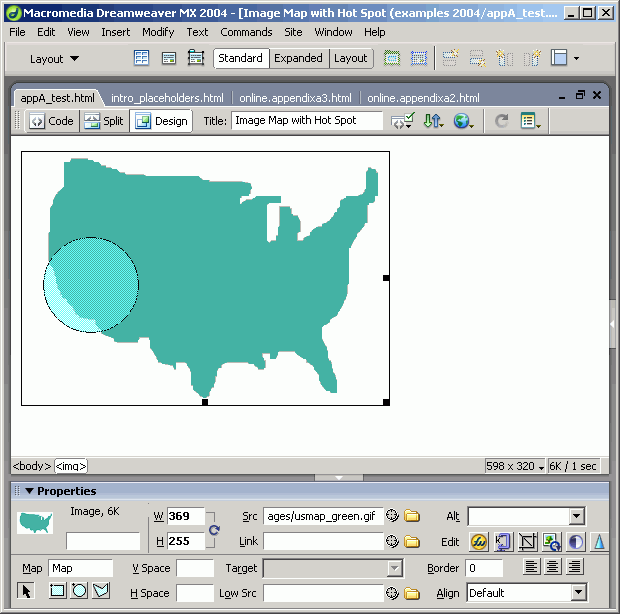
As we've seen, Dreamweaver lets you make client-side image maps directly in the Document window (Figure 6). When you draw a hotspot, the Property inspector (Figure 7) changes to show the properties for that hotspot (Figure 8). Naming your image map: One important thing you should do when creating an image map is to name
your image map.
Dreamweaver will name maps for you sequentially, as in Map, Map1, Map2, and so on. However, it is best to get in the habit of naming these with easier-to-remember names, especially if you'll be working with pages that have multiple maps on them. |
||


