
You learned in Hour 1, “Introducing JavaScript,” that JavaScript is a scripting language capable of making web pages more interactive.
In this hour you learn more about how JavaScript can be added to your web page and then about some of the fundamental syntax of your JavaScript programs such as statements, variables, operators, and comments. You’ll also get your hands dirty with more worked examples.
In the previous hour we said that JavaScript programs are passed to the browser along with page content—but how do we achieve that? Actually there are two basic methods for associating JavaScript code with your HTML page, both of which use the <script></script> element introduced in Hour 1.
One method is to include the JavaScript statements directly into the HTML file, just like we did in the previous hour:
<script>

    ... Javascript statements are written here ...

</script>
A second and usually preferable way to include your code is to save your JavaScript into a separate file and use the <script> element to include that file by name using the src (source) attribute:
<script src='mycode.js'></script>
The previous example includes a file mycode.js, which contains our JavaScript statements. If your JavaScript file is not in the same folder as the calling script, you can also add a (relative or absolute) path to it:
<script src='/path/to/mycode.js'></script>
or
<script src='http://www.example.com/path/to/mycode.js'></script>
It is customary to give files of JavaScript code the file extension .js, as in this example. However, your included code files can have any extension, and the browser will try to interpret the contents as JavaScript.
Placing your JavaScript code in a separate file offers some important advantages:
The JavaScript statements in the external file must not be surrounded by <script> ... </script> tags, nor can you place any HTML markup within the external file. Just include the raw JavaScript code.
Listing 2.1 shows the simple web page we used in Hour 1, but now with a file of JavaScript code included in the <body> section. JavaScript can be placed in either the head or body of the HTML page. In fact, it is more common—and generally recommended—for JavaScript code to be placed in the head of the page, where it provides a number of functions that can be called from elsewhere in the document. You learn about functions in Hour 3, “Using Functions”; until then we limit ourselves to adding our example code into the body of the document.
Listing 2.1. An HTML Document with a JavaScript File Included
When JavaScript code is added into the body of the document, the code statements are interpreted and executed as they are encountered while the page is being rendered. After reading and executing the code, page rendering continues until the page is complete.
You’re not limited to using a single script element—you can have as many of them on your page as you need.
You sometimes see HTML-style comment notation <!-- and --> inside script elements, surrounding the JavaScript statements, like this:
<script>

    <!--

    ... Javascript statements are written here ...

     -->

</script>
This is for the benefit of ancient browsers that didn’t recognize the <script> tag. This HTML “comment” syntax prevented such browsers from displaying the JavaScript source code on the screen along with the page content. Unless you have a reason to support very old browsers, this technique is no longer required.
JavaScript programs are lists of individual instructions that we refer to as statements. To interpret statements correctly, the browser expects to find statements written either each on a separate line:
this is statement 1

this is statement 2
or combined in the same line by terminating each with a semicolon:
this is statement 1;

this is statement 2;
To ease the readability of your code, and to help prevent hard-to-find syntax errors, it’s good practice to combine both methods by giving each statement its own line and terminating the statement with a semicolon too:
this is statement 1;
this is statement 2;
Some statements are not intended to be executed by the browser’s JavaScript interpreter but are there for the benefit of anybody who may be reading the code. We refer to such lines as comments, and there are specific rules for adding comments to our code.
A comment that occupies just a single line of code can be written by placing a double forward slash before the content of the line:
// This is a comment
JavaScript can also use the HTML comment syntax for single-line comments:
<!-- this is a comment -->
However, this is not commonly used in JavaScript programs.
To add a multiline comment in this way, we need to prefix every line of the comment:
// This is a comment

// spanning multiple lines
A more convenient way of entering multiline comments to your code is to prefix your comment with /* and terminate it with */. A comment written using this syntax can span multiple lines:
/*  This comment can span

    multiple lines

    without needing

    to mark up every line  */
Adding comments to your code is really a good thing to do, especially when you’re writing larger or more complex JavaScript applications. Comments can act as reminders to you and also as instructions and explanations to anybody else reading your code at a later date.
It’s true that comments add a little to the size of your JavaScript source file, and this can have an adverse effect on page loading times. Generally the difference is so small as to be barely noticeable, but if it really matters you can always strip out all the comments from a “production” version of your JavaScript file—that is, a version to use with live rather than development websites.
A variable can be thought of as a named “pigeon-hole” where we keep a particular piece of data. Such data can take many different forms—an integer or decimal number, a string of characters, or various other data types discussed later in this hour or in those that follow. Our variables can be called pretty much anything we want, so long as we only use alphanumeric characters, the dollar sign $, or underscores in the name.
Let’s suppose we have a variable called netPrice. We can set the value stored in netPrice with a simple statement:
netPrice = 8.99;
JavaScript is case sensitive—a variable called mypetcat is a different variable from Mypetcat or MYPETCAT.
Many coders of JavaScript, and other programming languages, like to use the so-called CamelCase convention (also called mixedCase, BumpyCaps, and various other names) for variable names. In CamelCase, compound words or phrases have the elements joined without spaces, with each element’s initial letter capitalized except the first letter, which can be either upper- or lowercase. In this example, the variable would be named MyPetCat or myPetCat.
We call this assigning a value to the variable. Note that we don’t have to declare the existence of this variable before assigning a value, as we would have to in some other programming languages. However, doing so is possible in JavaScript by using the var keyword and in most cases is good programming practice:
var netPrice;

netPrice = 8.99;
Alternatively we can combine these two statements conveniently and readably into one:
var netPrice = 8.99;
To assign a character string as the value of a variable, we need to include the string in single or double quotes:
var productName = "Leather wallet";
We could then, for example, write a line of code sending the value contained in that variable to the window.alert method:
alert(productName);
The generated dialog would evaluate the variable and display it as in Figure 2.1.
Figure 2.1. Displaying the value of variable productName
Choose readable variable names. Having variable names such as productName and netPrice makes code much easier to read and maintain than if the same variables were called var123 and myothervar49, even though the latter names are entirely valid.
The values we have stored in our variables aren’t going to be much use to us unless we can manipulate them in calculations.
First, JavaScript allows us to carry out operations using the standard arithmetic operators of addition, subtraction, multiplication, and division.
var theSum = 4 + 3;
As you’ll have guessed, after this statement has been executed, the variable theSum will contain a value of 7. We can use variable names in our operations too:
var productCount = 2;

var subtotal = 14.98;

var shipping = 2.75;

var total = subtotal + shipping;
We can use JavaScript to subtract (-), multiply (*), and divide (/) in a similar manner:
subtotal = total – shipping;

var salesTax = total * 0.15;

var productPrice = subtotal / productCount;
To calculate the remainder from a division, we can use JavaScript’s modulus division operator. This is denoted by the % character:
var itemsPerBox = 12;

var itemsToBeBoxed = 40;

var itemsInLastBox = itemsToBeBoxed % itemsPerBox;
In this example, the variable itemsInLastBox would contain the number 4 after the last statement completes.
JavaScript also has convenient operators to increment (++) or decrement (--) the value of a variable:
productCount++;
is equivalent to the statement
productCount = productCount + 1;
Similarly
items--;
is just the same as
items = items – 1;
A more comprehensive list of JavaScript’s arithmetic operators appears in Appendix B, “JavaScript Quick Reference.”
If you need to increment or decrement a variable by a value other than one, JavaScript also allows you to combine other arithmetic operators with the = operator, for example, += and -=.
The following two lines of code are equivalent:
total = total + 5;

total += 5;
So are these two:
counter = counter - step;

counter -= step;
We can use this notation for other arithmetic operators such as multiplication and division too:
price = price * uplift;

price *= uplift;
When you use several operators in the same calculation, JavaScript uses precedence rules to determine in what order the calculation should be done. For example, consider the statement
var average = a + b + c / 3;
If, as the variable’s name implies, you’re trying to calculate an average, this would not give the desired result; the division operation would be carried out on c before adding the values of a and b to the result. To calculate the average correctly, we would have to add parentheses to our statement, like this:
var average = (a + b + c) / 3;
If you have doubts about the precedence rules, I would recommend that you always use parentheses liberally. There is no cost to doing so, it makes your code easier to read (both for you and for anyone else who later has to edit or decipher it), and it ensures that precedence issues don’t spoil your calculations.
If you have programming experience in another language such as PHP or Java, you’ll find that the precedence rules in JavaScript are pretty much identical to the ones you’re used to. You can find detailed information on JavaScript precedence at http://msdn.microsoft.com/en-us/library/z3ks45k7(v=vs.94).aspx.
Arithmetic operators don’t make much sense if the variables they operate on contain strings rather than numeric values. The exception is the + operator, which JavaScript interprets as an instruction to concatenate (join together sequentially) two or more strings:
var firstname = "John";

var surname = "Doe";

var fullname = firstname + " " + surname;

// the variable fullname now contains the value "John Doe"
If you try to use the + operator on two variables one of which is a string and the other numeric, JavaScript converts the numeric value to a string and concatenates the two:
var name = "David";

var age = 45;

alert(name + age);
Figure 2.2 shows the result of using the + operator on a string and a numeric value.
Figure 2.2. Concatenating a string and a numeric value
We talk about JavaScript data types, and string operations in general, much more in Hour 5, “Different Types of Data.”
Video 2.1—Try It Yourself: Convert Celsius to Fahrenheit
var cTemp = 100;  // temperature in Celsius

// Let's be generous with parentheses

var hTemp = ((cTemp * 9) /5 ) + 32;
var hTemp = cTemp*9/5 + 32;
Listing 2.2. Calculating Fahrenheit from Celsius
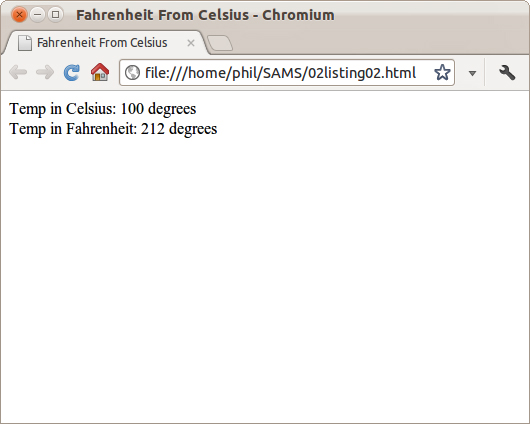
Figure 2.3. The output of Listing 2.2
One of the fundamental purposes of JavaScript is to help make your web pages more interactive for the user. To achieve this, we need to have some mechanisms to detect what the user and the program are doing at any given moment—where the mouse is in the browser window, whether the user has clicked a mouse button or pressed a keyboard key, whether a page has fully loaded in the browser, and so on.
All of these occurrences we refer to as events, and JavaScript has a variety of tools to help us work with them. In Hour 9, “Responding to Events,” we look closely at events and learn some advanced techniques for dealing with them. For the moment, though, let’s take a look at some of the ways we can detect a user’s mouse actions using JavaScript.
JavaScript deals with events by using so-called event handlers. We are going to investigate three of these, onClick, onMouseOver, and onMouseOut.
While adding event handlers directly into HTML elements is perfectly valid, it’s not regarded these days as good programming practice. It serves us well for the examples in Part I of this book, but later in the book you learn more powerful and elegant ways to use event handlers.
The onClick event handler can be applied to nearly all HTML elements visible on a page. One way we can implement it is to add one more attribute to the HTML element:
onclick=" ...some JavaScript code... "
Let’s see an example; have a look at Listing 2.3.
Listing 2.3. Using the onClick Event Handler
The HTML code adds a button to the <body> element of the page and supplies that button with an onclick attribute. The value given to the onclick attribute is the JavaScript code we want to run when the HTML element (in this case a button) is clicked. When the user clicks the button, the onclick event is activated (we normally say the event has been “fired”), and the JavaScript statement(s) listed in the value of the attribute are executed.
In this case, there’s just one statement:
alert('You clicked the button!')
Figure 2.4 shows the result of clicking the button.
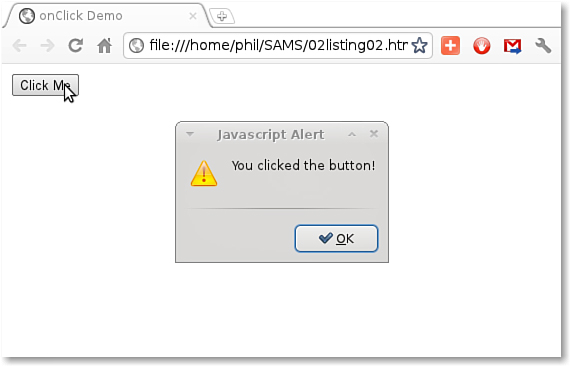
Figure 2.4. Using the onClick event handler
You may have noticed that we call the handler onClick but that we write this in lowercase as onclick when adding it to an HTML element. This convention has arisen because although HTML is case insensitive, XHTML is case sensitive and requires all HTML elements and attribute names to be written in lowercase.
When we simply want to detect where the mouse pointer is on the screen with reference to a particular page element, onMouseOver and onMouseOut can help us to do that.
The onMouseOver event is fired when the user’s mouse cursor enters the region of the screen occupied by the element in question. The onMouseOut event, as I’m sure you’ve already guessed, is fired when the cursor leaves that same region.
Listing 2.4 gives a simple example of the onMouseOver event in action:
Listing 2.4. Using onMouseOver
The result of running the script is shown in Figure 2.5. Replacing onmouseover with onmouseout in Listing 2.4 will, of course, simply fire the event handler—and therefore pop up the alert dialog—as the mouse leaves the image, rather than doing so as it enters.
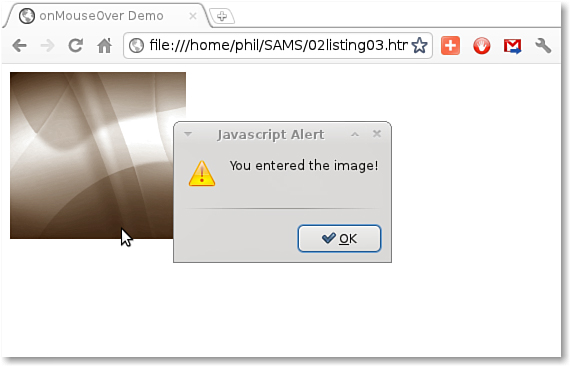
Figure 2.5. Using the onMouseOver event handler
Video 2.2—Try It Yourself: Creating an Image Rollover
Try It Yourself: Creating an Image RolloverListing 2.5. An Image Rollover Using onMouseOver and onMouseOut
There was a time when image rollovers were regularly done this way, but these days they can be achieved much more efficiently using Cascading Style Sheets (CSS). Still, it’s a convenient way to demonstrate the use of the onMouseOver and onMouseOut event handlers.
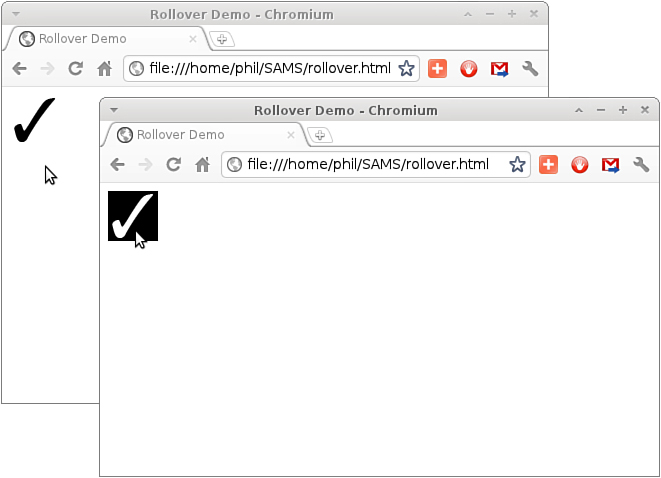
Figure 2.6. An image rollover using onMouseOver and onMouseOut
You covered quite a lot of ground this hour.
First of all you learned various ways to include JavaScript code in your HTML pages.
You studied how to declare variables in JavaScript, assign values to those variables, and manipulate them using arithmetic operators.
Finally, you were introduced to some of JavaScript’s event handlers and you learned how to detect certain actions of the user’s mouse.
Q. Some of the listings and code snippets list opening and closing <script> tags are on the same line; other times they are on separate lines. Does it matter?
A. Empty spaces such as the space character, tabs, and blank lines are completely ignored by JavaScript. You can use such blank space, which programmers usually call whitespace, to lay out your code in such a way that it’s more legible and easy to follow.
Q. Can I use the same <script> element both to include an external JavaScript file and to contain JavaScript statements?
A. No. If you use the script element to include an external JavaScript file by using the src attribute, you cannot also include JavaScript statements between <script> and </script>—this region must be left empty.
Starting with Listing 2.4, remove the onMouseOver and onMouseOut handlers from the <img> element. Instead, add an onClick handler to set the title property of the image to My New Title. [Hint: You can access the image title using this.title.]
Can you think of an easy way to test whether your script has correctly set the new image title?