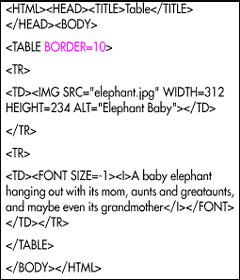
A border helps separate your table from the rest of the text. However, if you’re laying out your page with tables, you may not want to call so much attention to the border. It’s up to you.
To create a border:
- Inside the initial TABLE tag, type BORDER.
- If desired, type =n, where n is the thickness in pixels of the border. The default thickness for the border is 2 pixels.
Tips
- You get a border (that is, it takes up space) whether you use the BORDER tag or not. The BORDER tag simply determines whether your visitors can see the border or not.
- To get rid of the border completely, use BORDER=0.
- Tables naturally expand to the edge of the elements they contain or to the edge of the browser window, whichever comes first. That’s sometimes hard to see unless you view the border.
- It’s not a bad idea to use the BORDER tag while you’re constructing your table and then banish it once you have everything in its place. Just remember that the BORDER takes up 2 pixels of space on each side and 2 pixels between each cell.

